Are you wondering about podcast editing? Looking for advice on how to edit your podcast properly?
Let’s not beat around the bush here – Poor podcast audio quality is a true nightmare. Hisses, noises, and overall poor podcast production will take away from both – the content and the authority of the show itself.
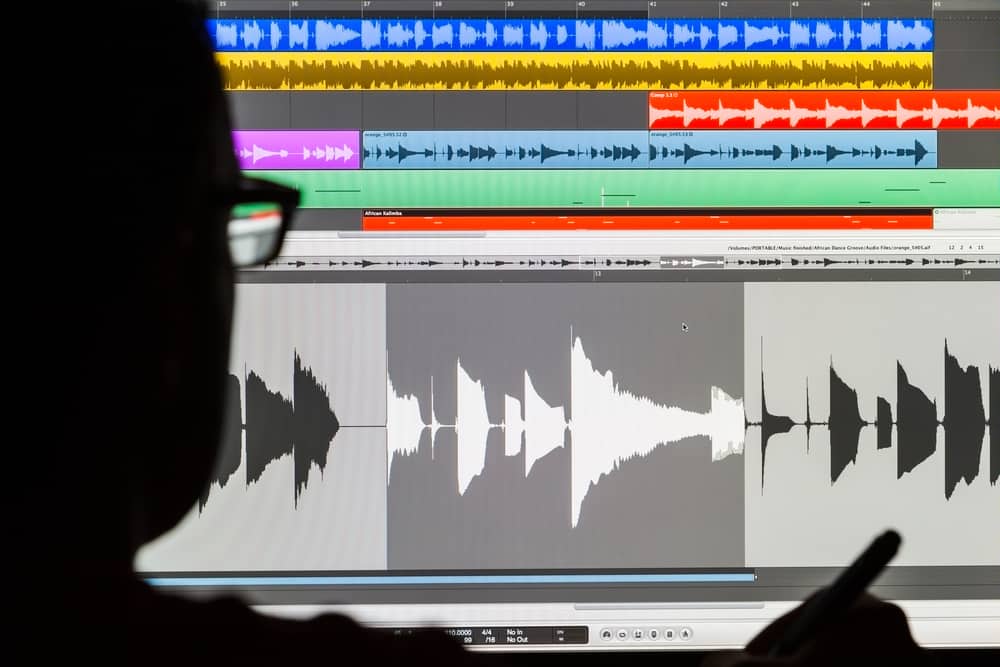
For that reason, editing audio is one of the most critical processes in podcasting. It’s also one of the most challenging. Luckily, with some podcast editing tips, you can make your life a lot easier and create great audio. If you’ve ever wondered how to edit a podcast, you’re in the right place.
So, how do you edit a podcast? And how much editing is really needed? Well, the answer to those questions depends on a few factors. Like most podcast hosts, you probably didn’t get into podcasting because you want to spend a lot of time editing. In this post, we’ll give you a handful of podcast editing tips to help you produce polished episodes without spending hours in front of your audio software.
BONUS: You’ll also hear some podcast editing advice from three professional audio engineers.
So, let’s do it.
Action
Read to start your own podcast? Learn the nitty-gritty details of starting your own show in our comprehensive guide. Learn how to start a podcast.
Podcast Editing: Your Two Options
Editing your show could be as simple as chopping off five seconds of silence at the beginning of your recording. Or it might be as complex as meticulously arranging dozens of clips on a 20-channel multi-track session. To find the right process for your podcast, let’s start with two editing options to retouch your episodes. These approaches are typically how every new podcaster starts out. We recommend using a blend of each.
1. Minimum effective editing
The simplest form of editing involves two simple steps. 1) “top and tail” and 2) minimum processing.
“Top and tail” means to cut the parts of the recording before the content starts and after it ends. Don’t touch anything in-between. It all stays in as it was recorded.
Minimum processing is just volume standardization. Find the “amplify” tool inside your podcast editing software and normalize it to -2db. Done!
To see the details, check out this minimum effective editing process.
2. The macro content edit
Finally, there’s the wider “content edit” approach. Instead of making time consuming micro-cuts, you make macro-cuts: removing entire segments.
This could be a long rambling answer from a guest that didn’t really go anywhere and adds nothing to the content. Or maybe your guest answered the question, then continued answering it again in a more long winded manner. In cases like that, cut out the entire second part and save your listener some time!
If you want to follow this approach, or the one above, Alitu is one tool that can make it easy. It will take care of the volumes, the noise reduction, and the theme music – you just need to mark the sections to cut out. Or not! Go one-take and save even more time!
If you’re using Audacity to record your audio, follow along with our tutorial below for tips on adjusting volumes, adding fade effects, and more:

Which method is best?
You can use one of the above approaches or a combination of them. Ultimately, you want to serve your audience the best-presented content you can while also keeping your workflow sustainable so you avoid podfading. To do this, you need to work around your time constraints, and stay inside the scope of your podcast format.
Podcast Editing Tips To Save Time
Once you get into podcast editing, you’ll realize right away just how much time it can take. That’s why a lot of our customers ask us how to edit a podcast without spending a lot of time. (Truthfully, however, the quickest way to edit your show is to outsource it to our podcast editing service so you can focus on other matters, like promoting your show.)
There are a lot of podcast editing tips out there, but we’re focusing on the ones that will save you the most time in the long run. These tips are easy to implement in your production process. They will help you reduce the time you spend altering episodes, whether you’ve already started a podcast or if you’re thinking about starting one.
1. Prevent future mistakes
When choosing your approach, consider the fact that spending more time on editing won’t necessarily make your podcast better, nor will it make you better as a podcaster.
Just because you have the time to cut out every “um” and “ah” doesn’t mean it’s the right way to edit your episodes. In fact, this type of over-editing may make the conversation sound unnatural and jarring. Editing should be a tool rather than a crutch. Instead of relying on editing to make you sound like a better presenter, it’s smarter to practice creating cleaner recordings that don’t require editing.
For instance, if you stumble over a word, no big deal – that happens to everyone. Just correct yourself and press on. Treat it like you’re actually broadcasting live.
Sure, chop out any big obvious “uhhhmmms” you spot in your waveform. But in future recordings, work to say fewer of them. By removing the “editing crutch,” you’ll find the pressure accelerates your learning. The “ums” will melt away!
2. Spend time planning
Another way to save yourself time in the editing process is by preparing more before you hit start recording.
Firstly, there’s the structure and planning to consider. Have you prepared a script or bullet point notes? Do you know how you’re going to open the episode? Do you know the points you’d like to hit in the conversation? Have you thought about how you’re going to wrap up and close the episode?
Second, think about minimizing disturbances in your recording. This can be things like putting your phone in the other room, telling family members not to disturb you, and having a glass of water on hand to keep your cords hydrated throughout the recording session.
3. Try the click-edit method
Consider adopting the click-editing method. Sometimes there will be points during a conversation where you absolutely want to make an edit later on. Instead of having to listen through the entire episode to find it, simply pause, wait a few seconds, click your fingers at the mic 3 times, then start that section again.
This creates a very easy to spot marker on your waveform. Then you can quickly make the edit and move on to writing the show notes, creating a transcription, and publishing the episode.

Podcast Audio Editing Advice From Castos Productions Audio Engineers
In order to discover the best techniques to help podcasters get the most out of their sound recordings, we consulted some professional audio engineers for their insights about sound quality and the process of editing podcasts. We asked them to tell us everything about how to edit a podcast, including their podcast software, workflows, equipment, and productivity.
Our Audio Engineers
Damjan Cirilovic is from Serbia. He is a sound designer, music composer, and sound effects expert. He was extremely helpful and informative and it is a pleasure working with him.
Mike Sacchetta is extremely knowledgeable about the audio industry in general. He is a great asset and we will be reaching out to him in future projects. He has a Bachelor of Arts in Music and several other audio certificates and qualifications.
Jeremy Enns is an audio engineer, podcast consultant, and a photographer. He produces beautiful audio and video stories. I loved the fact that he tries to keep things pared down because he is a minimalist.
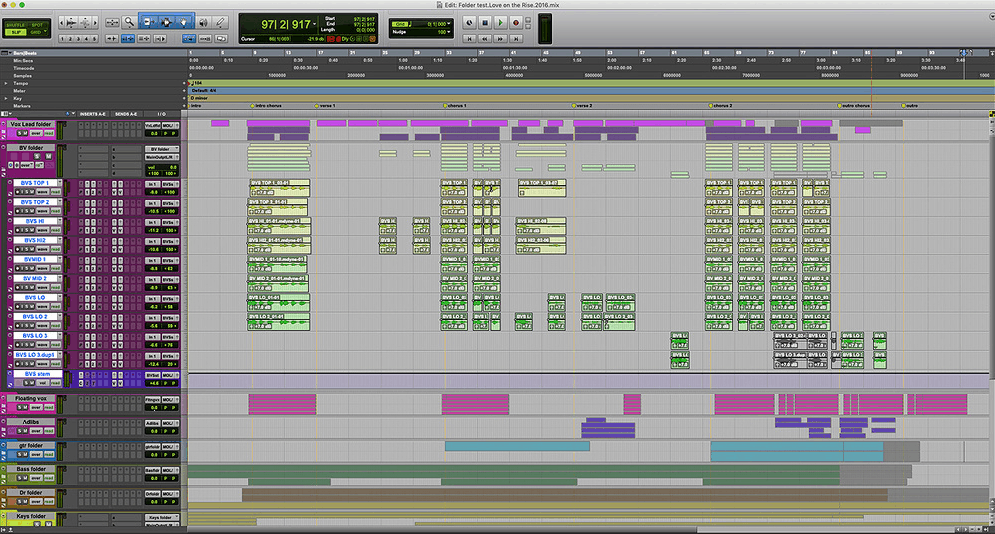
Podcast editing software recommendations
It’s hard to do a good job at anything without the proper tools. The digital audio workstation (DAW) or software used to edit the audio podcasts is as important as the computer and other audio equipment.
Damjan uses Logic Pro X which is an audio editing and MIDI sequencer software program for the Mac OS X platform. This is a full music and audio editing tool with a sleek interface. When it is time to graduate from GarageBand, this is a logical choice.

Jeremy and Mike both use Pro Tools for their audio editing. They are in good company. Pro Tools was used for the audio editing of Star Wars: The Force Awakens, and Jeff Fuller the sound mixer for the Foo Fighters, used Pro Tools for mixing the Sonic Highways album.
The top podcast recording tips from audio engineers
Quality audio editing can make an amatuer level podcast sound like a professional show. Still, the audio editing can only do so much. For the best final outcome, it’s important to capture the best original audio that you can.
Damjan says the most important thing that needs to be done is minimizing the noise in the room. Turn off the air-conditioners, close the windows and doors, and turn off the sound notifications on phones and apps. Use a proper microphone and headset. They don’t have to be expensive, but placement and use matter.
Mike encourages hosts guests to avoid creating too much background noise. Wear headphones to monitor your sound during recording.
Jeremy’s advice is to get your levels right! Don’t be so afraid of clipping that you record way too low and need to crank everything up to get to the appropriate levels. This just brings up the noise floor with your voice. Furthermore, do everything you can to record in a quiet, non-reflective (sound-wise) environment, and be mindful that your microphone is probably picking up typing on your keyboard, the pen on the desk, and squeaking in your chair.
The best podcast editing time-saving advice
There’s a lot to do as a podcast content creator, so it’s important to use your time as productively as possible. Our audio engineers have smart workflow tactics to help.
Jeremy, our minimalist, sets up a template whenever he has a new show or begins working on a new series. Then he just imports the audio, makes the edits, adjusts the levels, and tweaks any other needed plugin settings before exporting.
Mike will adjust the EQ, remove errors, compress, and address noise issues as he listens to the show. The order may change depending on what’s needed. He levels audio and makes sure that all parts flow into each other. He then bounces the audio to disc and converts it into an MP3 before uploading it into Dropbox. He recommends using Shuffle Mode in Pro Tells to stay organized.
Damjan had this to say about his workflow:
“I like my audio tracks well organized, and sound files exported to proper sample rate and format, and then I do the manual customization (eq, leveling, compression, limiting and overall enhancing for better clarity). Next step is audio editing (removing mistakes, ‘ums’, long pauses, filtering out the noise, pops, clicks and other unwanted parts of the interview) and then I mix the completed interview with provided intro, exits and ads.”
His biggest time saving tip was using Varispeed in Logic Pro X:
“I use the Varispeed option in Logic Pro X which provides listening at a faster pace without losing clarity, so I work much faster at +50% speed. Of course, when I export the final file, I turn that option off, so the audio remains at a normal speed.”

An engineer’s audio editing setup
Just for fun, we asked these guys about the hardware setups they’re currently using. We were also curious about their dream setups.
Jeremy is a digital nomad (which means he travels a lot). His set up on the go is a laptop, mouse, and headphones. When he is at home he has a bunch of mics, pedals, instruments, and amps. He also uses a GA Pre73 microphone preamplifier, a MOTU 828mk3 Hybrid Firewire Audio Interface, and he also uses KRK V6 powered monitors which are like speakers with separate amplifiers for the woofer and tweeter. Instead of wanting more for his dream setup, the minimalist, Jeremy wants to pare down even more.
Mike has more mixers, audio interfaces, and preamps than I can list, including some from Behringer and Tascam. He also has tons of software and an assortment of microphones from Shure, Apex, and Behringer. Throw in some mixers, controllers, and an assortment of musical instruments, and he is not a minimalist. His dream setup includes countless expensive things including Neve preamps and a powerful computer with a large monitor.
Damjan is working with Logic Pro X software and a professional mixing and monitoring system for audio post production. Some of the items he uses are an Arturia MiniLab, a Roland UA-25 USB audio interface, M-Audio Studio Monitor speakers, a Behringer BCF2000 control fader, and a Akai Mpd218 pad controller. He says he would be very satisfied with the Focusrite Studio Pack (audio interface, condenser microphone and headphones) recorded in a professional vocal booth, or with sound reflection and a pop filter.
How to help your audio engineer succeed
Like we’ve mentioned a few times, you can help your podcast editor (which may be you) create a well-edited episode by giving him/her the best source material. Here are a few ways you can make that person’s life easier.
- Limit your episodes to a reasonable length, about 45 minutes to an hour. Editing is a tedious process. If you avoid unnecessary content, you’ll avoid extra editing.
- Create clear beginnings and endings to your show. For instance, you might say out loud, “Beginning now,” then count to three in your head so there’s room to cut.
- Silence all of your notifications and alerts. These just need to be cut out later.
- Record each person speaking on their own track so they can be edited independently. It’s almost impossible to remove someone’s voice if both people are talking over one another on the same track.
- If you aren’t happy with a section of the recording and want it removed, leave a pause afterwards so the editor has room to cut.
Additional podcast editing tips
Here are a few more tips to create the best material for editing.
- Test your recordings and modify the position of your microphone. Try to keep a consistent distance between the mic and your mouth.
- Play with your sound. You will be amazed at how much you can do to improve it.
- Pace yourself when recording. This will eliminate filler words and sounds. sometimes it helps to take a full breath between sentences. If these spaces are too long, you can always remove them during editing.
- Don’t be afraid to let an interview end early if the conversation has peaked and is starting to fade. Filler content either a) erodes the quality of your episode and bores your listeners, or b) just has to be removed later.
- Record in a relaxing environment. This will help with conversation flow.
Summary
We’ve gone over a variety of tips that you should consider turning into habits. By now you should understand how to edit a podcast, how to save a lot of time in the editing phase, and how to improve the overall quality of your content.
It’s entirely up to you what editing approach you take, so don’t let anyone tell you how much time you need to spend to create a successful show. You know your own listeners best, after all. But with a solid preparation routine, a drive to improve your presentation abilities, and some simple techniques, you can spend far less time on editing, and much more time on creating great content.


This is a great post – lots of great detail and leads to resources. Thank you Craig!
Mary